> ## Documentation Index
> Fetch the complete documentation index at: https://docs.getpara.com/llms.txt
> Use this file to discover all available pages before exploring further.
# Developer Portal Payment Integration
> Configure payment providers and transaction features to enable crypto buying, selling, and wallet funding for your users. These settings control which options appear in your Para integration.
export const DeveloperPortalNextSteps = ({basePath, current, implementationHref, implementationTitle = "Implementation Guide", implementationDescription = "Continue with your selected integration path."}) => {
const pages = [{
id: "setup",
title: "Portal Setup",
description: "Configure API keys, environments, networks, domains, and email settings.",
slug: "developer-portal-setup"
}, {
id: "email",
title: "Email Branding",
description: "Customize Welcome and OTP emails with your brand colors, fonts, and logos.",
slug: "developer-portal-email-branding"
}, {
id: "payments",
title: "Payment Integration",
description: "Configure payment providers and transaction features for crypto onramps and offramps.",
slug: "developer-portal-payments"
}, {
id: "security",
title: "Security Settings",
description: "Configure authentication methods, session management, and transaction permissions.",
slug: "developer-portal-security"
}];
return <>
;
};
export const Link = ({href, label, newTab = false}) => {
const [isHovered, setIsHovered] = useState(false);
return setIsHovered(true)} onMouseLeave={() => setIsHovered(false)}>
{label}
;
};
These configurations will show up in the Para Modal interface post user authentication. You can open the `ParaModal` at any time in your application to allow users to interact with these payment features.
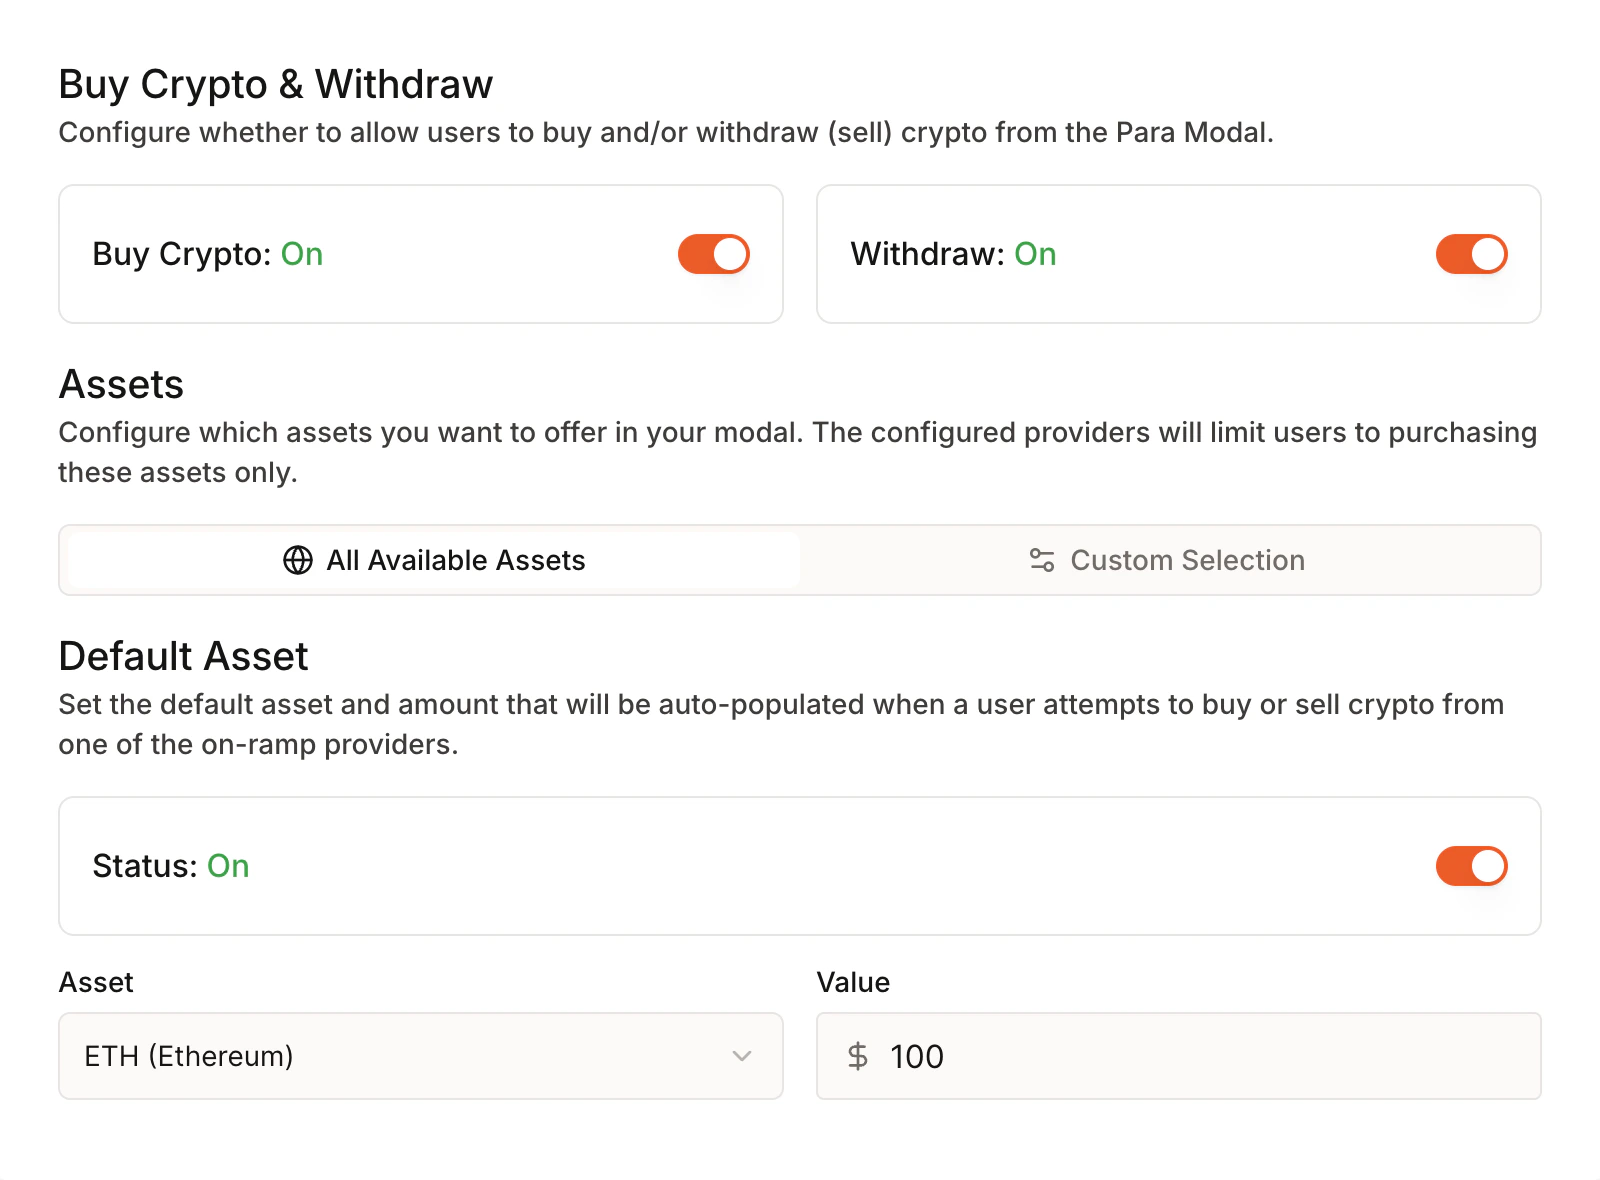
## Buy Crypto & Withdraw Configuration
Toggle the buy crypto and withdraw features to allow users to buy and/or sell cryptocurrency directly through your application. The two switches can be enabled independently - you can enable just buying, just selling (withdraw), or both.
**How the Flow Works:**
When users click Buy Crypto or Withdraw in the Para Modal:
1. **Form** - Users enter their desired asset, network, and amount
2. **Provider Selection** - Users select from available payment providers that support their chosen transaction
3. **Provider Widget** - The selected network, asset, and amount are passed to the provider's widget, where users complete the onramp or offramp transaction
## Asset Configuration
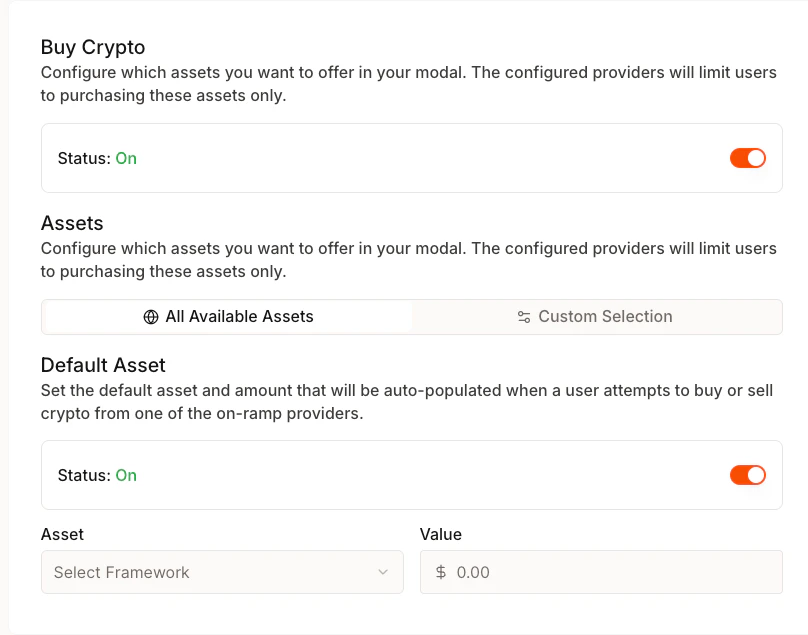
Configure which cryptocurrencies and networks are available for both buying and selling. These settings apply to both on-ramp (buy) and off-ramp (sell) flows.
### Asset Selection
Choose which cryptocurrencies users can buy and sell:
* **All Available Assets**: Enable all supported cryptocurrencies - users can buy/sell any supported asset on any supported network
* **Custom Selection**: Limit to specific assets that match your application's needs - you can restrict which assets are available per network (e.g., only USDC on Ethereum, but all assets on Polygon)
This selection directly affects what users see in the Para Modal asset dropdown when they initiate buy or sell transactions.
**Supported Assets (11):**
* `ETHEREUM` (ETH) - Native Ethereum asset
* `USDC` - USD Coin stablecoin
* `TETHER` (USDT) - Tether stablecoin
* `POLYGON` (POL) - Polygon native asset (formerly MATIC)
* `SOLANA` (SOL) - Solana native asset
* `ATOM` - Cosmos native asset
* `CELO` - Celo native asset
* `CUSD` - Celo Dollar stablecoin
* `CEUR` - Celo Euro stablecoin
* `CREAL` - Celo Real stablecoin
* `BERA` - Berachain native asset
**Supported Networks (12):**
* **Mainnet**: `ETHEREUM`, `ARBITRUM`, `BASE`, `OPTIMISM`, `POLYGON`, `CELO`, `BERACHAIN`, `SOLANA`, `COSMOS`, `NOBLE`
* **Testnet**: `SEPOLIA` (Ethereum testnet), `SOLANA_DEVNET` (Solana testnet)
Not all payment providers support all assets and networks. See the Provider Asset Support section below for details on which providers support which combinations.
### Default Asset Configuration
Set the default cryptocurrency and amount that pre-populates when users initiate a buy or sell transaction. The default asset and network pre-populate the Para Modal when users open the buy/sell flow.
**Selection Priority:**
The Para Modal determines which asset and network to display using the following priority:
1. **Your configured default** (if set and valid within your allowed assets)
2. **Automatic wallet type detection**:
* `COSMOS` wallets → `ATOM` on `COSMOS` network
* `SOLANA` wallets → `SOL` on `SOLANA` network
* `EVM` wallets → `ETH` on `ETHEREUM` network
3. **First available option** from your allowed asset/network list
**Configuration Steps:**
1. **Select Asset**: Choose from your enabled cryptocurrency list
2. **Default Amount**: Set a suggested transaction amount (e.g., \$50.00)
3. **Status**: Enable or disable the default asset feature
Users can still change their selection in the Para Modal - this configuration only sets the initial pre-populated values. If you've configured custom asset selection, your default must be within the allowed assets.
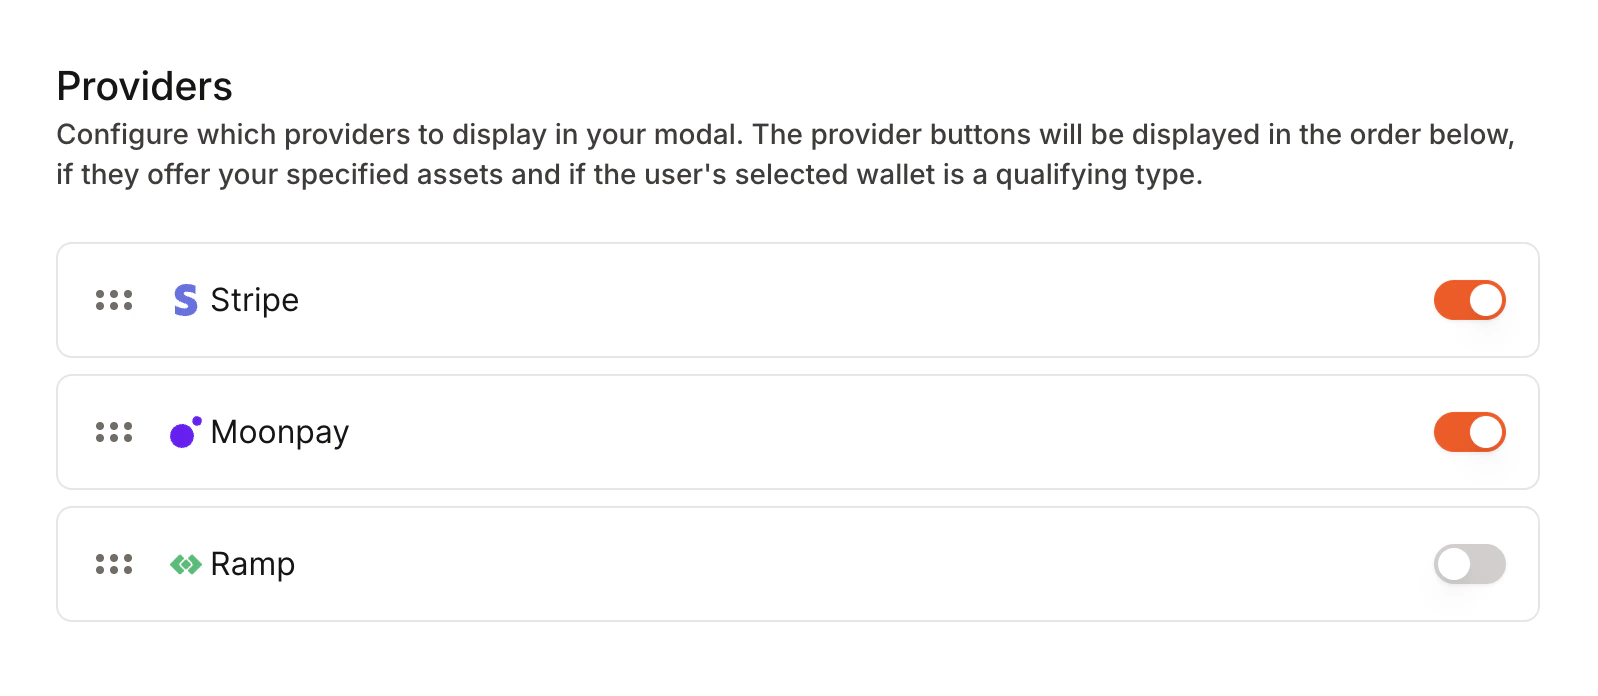
## Payment Provider Configuration
Configure which payment providers appear in your application's onramp and offramp interface.
Click and drag to reorder payment providers. The order determines how providers appear in the Para Modal.
### Integration Requirements
Each payment provider requires separate integration setup:
1. **Stripe**: No API key required - just enable **Stripe** in the Developer Portal.
2. **MoonPay**: No API key required - just enable **MoonPay** in the Developer Portal.
3. **Ramp**: First complete onboarding and KYB with Ramp, then enter your Ramp API key in the Developer Portal.
Ramp requires a Ramp production API key. Learn more at
### Provider Asset Support
Each payment provider supports different cryptocurrencies, networks, and operations (buy vs sell). After users complete the form with their desired asset, network, and amount, they'll see a list of available providers. Only providers that support the selected transaction combination will be displayed.
Choose which providers to enable based on the assets and networks your users need access to.
**Stripe:**
* **Operations:** `BUY` only (no `SELL`/withdraw)
* **Supported Networks:** `ETHEREUM`, `ARBITRUM`, `BASE`, `POLYGON`, `SOLANA`
* **Supported Assets:** `ETHEREUM` (ETH), `USDC`, `POLYGON` (POL), `SOLANA` (SOL)
* **Official Documentation:** Supported Assets
**MoonPay:**
* **Operations:** `BUY` and `SELL`
* **Supported Networks:** All 10 mainnets (`ETHEREUM`, `ARBITRUM`, `BASE`, `OPTIMISM`, `POLYGON`, `CELO`, `BERACHAIN`, `SOLANA`, `COSMOS`, `NOBLE`)
* **Supported Assets:** All 11 assets (most comprehensive)
* **Official Documentation:** Supported Assets
**Ramp Network (rampnetwork.com):**
* **Operations:** `BUY` and `SELL`
* **Supported Networks:** `ETHEREUM`, `ARBITRUM`, `BASE`, `OPTIMISM`, `POLYGON`, `CELO`, `SOLANA`, `COSMOS`
* **Supported Assets:** All assets except `BERA` (10 total)
* **Official Documentation:** Supported Assets
Provider support varies by geography and regulation. Check each provider's documentation for region-specific availability.
## Test Mode Configuration
Configure how on-ramp and off-ramp services behave in different environments.
### What Test Mode Does
Test mode allows you to test crypto purchases and sales without real transactions:
* Uses test payment credentials from supported providers
* Uses test blockchain networks where available:
* `ETHEREUM` → `SEPOLIA` testnet
* `SOLANA` → `SOLANA_DEVNET`
* Other networks remain on mainnet (test network equivalents not yet configured)
* No real payment methods are charged
* Transactions use testnet assets with no real-world value
### Environment-Specific Behavior
**Beta environment:**
* Test mode is **ALWAYS enabled**
* Cannot be disabled
* Prevents accidental use of production payment processors
* All transactions automatically use test networks and credentials
**Production environment:**
* Test mode can be toggled on/off
* Control via `onRampTestMode` boolean in `paraModalConfig` prop on ``
* Set to `true` during development/testing in production
* Set to `false` (or omit) for live transactions
**Example:**
```tsx theme={null}
{/* Your app components */}
```
Test mode displays a dismissible alert in the Para Modal warning users they're in test mode. The alert message differs between production, where your app controls the setting, and beta, where test mode is always enabled.
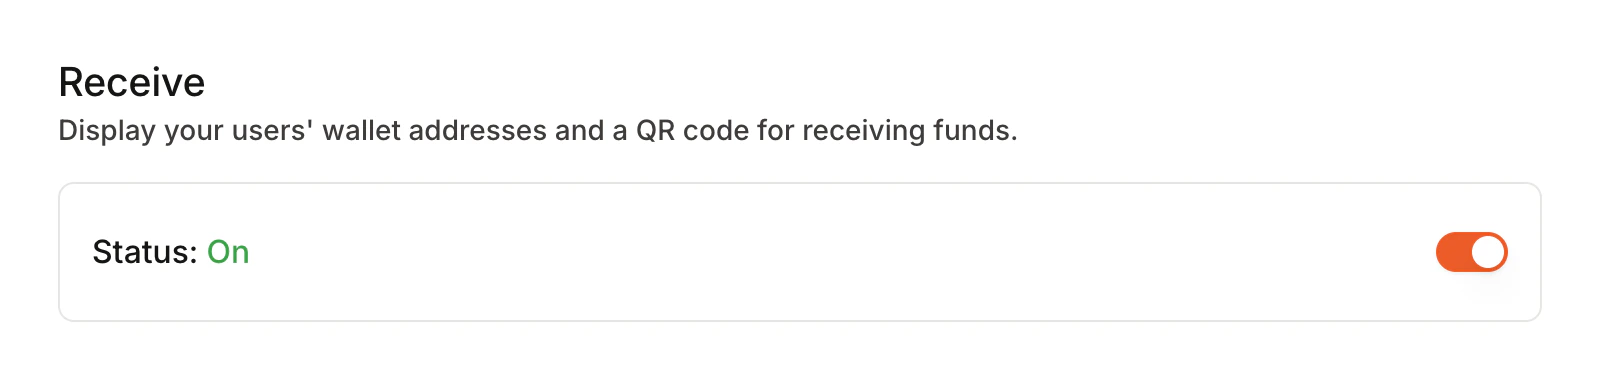
## Receive Funds Feature
Enable wallet address display and QR code generation for receiving cryptocurrency. When enabled, users can receive funds directly into their wallets by sharing their wallet addresses or QR codes.
 ## Asset Configuration
Configure which cryptocurrencies and networks are available for both buying and selling. These settings apply to both on-ramp (buy) and off-ramp (sell) flows.
## Asset Configuration
Configure which cryptocurrencies and networks are available for both buying and selling. These settings apply to both on-ramp (buy) and off-ramp (sell) flows.
 ### Asset Selection
Choose which cryptocurrencies users can buy and sell:
* **All Available Assets**: Enable all supported cryptocurrencies - users can buy/sell any supported asset on any supported network
* **Custom Selection**: Limit to specific assets that match your application's needs - you can restrict which assets are available per network (e.g., only USDC on Ethereum, but all assets on Polygon)
This selection directly affects what users see in the Para Modal asset dropdown when they initiate buy or sell transactions.
### Asset Selection
Choose which cryptocurrencies users can buy and sell:
* **All Available Assets**: Enable all supported cryptocurrencies - users can buy/sell any supported asset on any supported network
* **Custom Selection**: Limit to specific assets that match your application's needs - you can restrict which assets are available per network (e.g., only USDC on Ethereum, but all assets on Polygon)
This selection directly affects what users see in the Para Modal asset dropdown when they initiate buy or sell transactions.
 ### Integration Requirements
Each payment provider requires separate integration setup:
1. **Stripe**: No API key required - just enable **Stripe** in the Developer Portal.
2. **MoonPay**: No API key required - just enable **MoonPay** in the Developer Portal.
3. **Ramp**: First complete onboarding and KYB with Ramp, then enter your Ramp API key in the Developer Portal.
### Integration Requirements
Each payment provider requires separate integration setup:
1. **Stripe**: No API key required - just enable **Stripe** in the Developer Portal.
2. **MoonPay**: No API key required - just enable **MoonPay** in the Developer Portal.
3. **Ramp**: First complete onboarding and KYB with Ramp, then enter your Ramp API key in the Developer Portal.