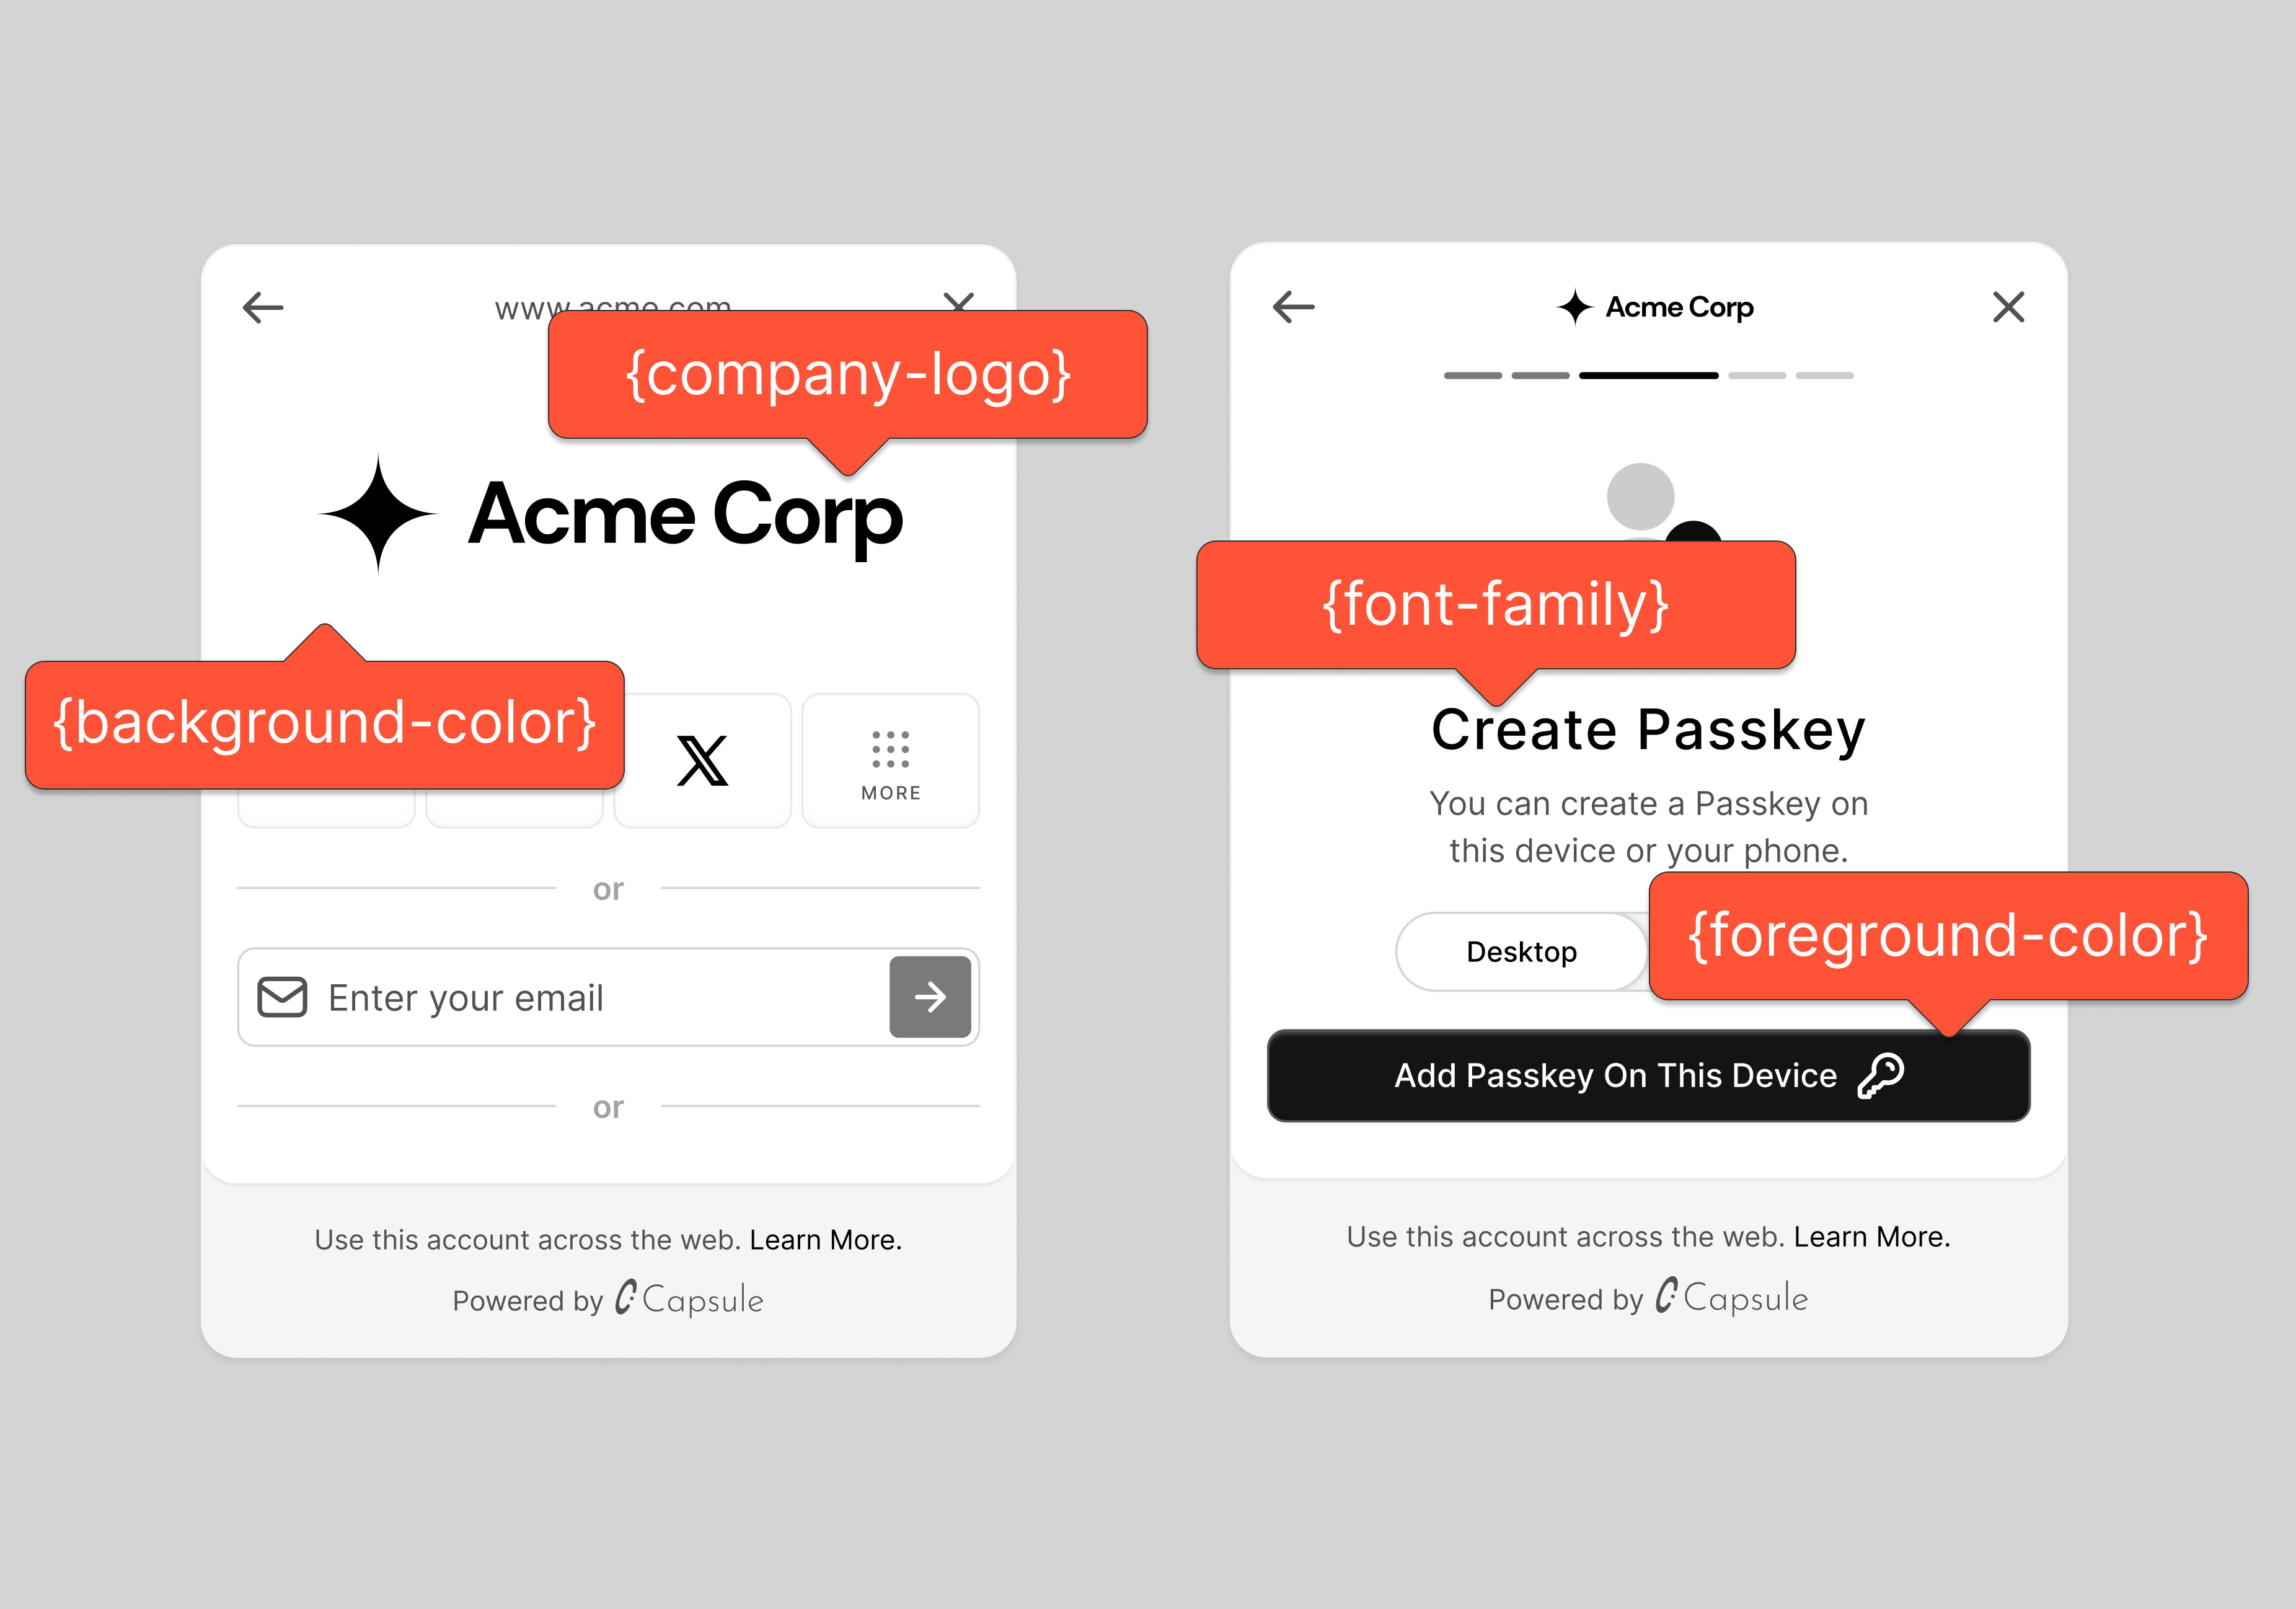
The Para Modal provides extensive customization options through the paraModalConfig prop passed to the ParaProvider. You can customize everything from colors and themes to authentication flows and security features.
Basic Setup Pass the paraModalConfig object to your ParaProvider to customize the modal:
< ParaProvider paraClientConfig = { { apiKey: process . env . REACT_APP_PARA_API_KEY || "" , } } config = { { appName: "Your App Name" } } paraModalConfig = { { logo: "https://yourdomain.com/logo.png" , theme: { backgroundColor: "#ffffff" , foregroundColor: "#000000" , accentColor: "#007AFF" }, // ... other customization options } } > { children } </ ParaProvider >
Configuration Options A full list of available configuration options for the paraModalConfig prop available on the ParaProvider component:
Logo Configuration paraModalConfig = {{ logo : "https://yourdomain.com/logo.png" }}
For optimal display, use a logo image with dimensions of 372px × 160px.
Authentication Options OAuth Methods paraModalConfig = {{ oAuthMethods : [ "GOOGLE" , "TWITTER" , "DISCORD" , "APPLE" ] }}
Available OAuth providers:
GOOGLE - Google OAuthTWITTER - Twitter/X OAuthAPPLE - Apple OAuthDISCORD - Discord OAuthFACEBOOK - Facebook OAuthFARCASTER - Farcaster OAuthTELEGRAM - Telegram OAuth
Email and Phone Login paraModalConfig = {{ disableEmailLogin : false , disablePhoneLogin : true , // Only allow email and OAuth oAuthMethods : [ "GOOGLE" , "TWITTER" ] }}
Default Authentication Identifier paraModalConfig = {{ defaultAuthIdentifier : "[email protected] " // or "+15555555555" }}
Phone numbers should be in international format: +15555555555
Authentication Layout paraModalConfig = {{ authLayout : [ "AUTH:CONDENSED" , "EXTERNAL:FULL" ] }}
Available layout options:
AUTH:FULL - Full authentication componentAUTH:CONDENSED - Condensed authentication componentEXTERNAL:FULL - Full external wallet componentEXTERNAL:CONDENSED - Condensed external wallet component
Use our Step Override paraModalConfig = {{ currentStepOverride : "ACCOUNT_MAIN" // or "account_main" }}
Authentication Steps:
AUTH_MAIN - Main authentication optionsAUTH_MORE - Additional authentication methodsAWAITING_OAUTH - OAuth authentication in progressVERIFICATIONS - Email/phone verification Wallet Creation Steps:
BIOMETRIC_CREATION - Biometric setupPASSWORD_CREATION - Password creationSECRET - Recovery secret displayAWAITING_WALLET_CREATION - Wallet creation in progress Account Management Steps:
ACCOUNT_MAIN - Main account viewACCOUNT_PROFILE - Profile managementCHAIN_SWITCH - Network selection External Wallet Steps:
EX_WALLET_MORE - External wallet optionsEX_WALLET_SELECTED - Selected external wallet Funds Management Steps:
ADD_FUNDS_BUY - Buy crypto interfaceADD_FUNDS_RECEIVE - Receive crypto interfaceADD_FUNDS_WITHDRAW - Withdraw crypto interface Security Steps:
SETUP_2FA - Two-factor authentication setupVERIFY_2FA - Two-factor authentication verification Setting an invalid step or a step that requires previous steps to be completed may cause unexpected behavior. Ensure the step override makes sense in your authentication flow.
Security Features Two-Factor Authentication Recovery Secret paraModalConfig = {{ twoFactorAuthEnabled : true , recoverySecretStepEnabled : true }}
Guest Mode paraModalConfig = {{ isGuestModeEnabled : true }}
Theme Configuration Basic Theme Example paraModalConfig = {{ theme : { foregroundColor : "#333333" , backgroundColor : "#FFFFFF" , accentColor : "#007AFF" , mode : "light" , borderRadius : "md" , font : "Arial, sans-serif" } }}
Advanced Theme with Custom Palette paraModalConfig = {{ theme : { foregroundColor : "#333333" , backgroundColor : "#FFFFFF" , accentColor : "#007AFF" , mode : "light" , customPalette : { text : { primary : "#333333" , secondary : "#666666" , subtle : "#999999" , inverted : "#FFFFFF" , error : "#FF3B30" }, modal : { surface : { main : "#FFFFFF" , footer : "#F2F2F7" }, border : "#E5E5EA" }, button : { primary : { background : "#007AFF" , hover : "#0056CC" , text : "#FFFFFF" } } } } }}
Set the mode correctly based on your background color to ensure all components remain visible and accessible.
You can use custom fonts by importing them in your global CSS and specifying the font family in the font property.
Account Linking paraModalConfig = {{ supportedAccountLinks : [ "EMAIL" , "PHONE" , "GOOGLE" , "TWITTER" , "EXTERNAL_WALLET" ] }}
Event Callbacks Modal Step Changes Modal Close paraModalConfig = {{ onModalStepChange : ( stepInfo ) => { console . log ( 'Modal step changed:' , stepInfo ); }, onClose : () => { console . log ( 'Modal closed' ); } }}
Password & PIN Screen Theme Limitations Password and PIN authentication screens are rendered in an iframe and use the Developer Portal theme settings, not your paraModalConfig.theme. This means:
Theme colors may differ between the modal and password screens if configurations don’t match
Dynamic theme changes at runtime won’t affect the iframe
You must configure matching themes in both your code and the Developer Portal for consistency
Advanced Configuration Custom Modal Behavior On-Ramp Configuration Complete Example Here’s a comprehensive example showcasing multiple configuration options:
< ParaProvider paraClientConfig = { { apiKey: process . env . REACT_APP_PARA_API_KEY || "" , } } config = { { appName: "Your App Name" } } paraModalConfig = { { // Branding logo: "https://yourdomain.com/logo.png" , // Authentication oAuthMethods: [ "GOOGLE" , "TWITTER" , "DISCORD" ], disablePhoneLogin: false , disableEmailLogin: false , defaultAuthIdentifier: "[email protected] " , authLayout: [ "AUTH:FULL" , "EXTERNAL:CONDENSED" ], // Security twoFactorAuthEnabled: true , recoverySecretStepEnabled: true , isGuestModeEnabled: false , // Theme theme: { foregroundColor: "#333333" , backgroundColor: "#FFFFFF" , accentColor: "#007AFF" , mode: "light" , borderRadius: "md" , font: "Inter, sans-serif" , customPalette: { text: { primary: "#333333" , secondary: "#666666" }, button: { primary: { background: "#007AFF" , hover: "#0056CC" } } } }, // Behavior currentStepOverride: "AUTH_MAIN" , onRampTestMode: false , // Account linking supportedAccountLinks: [ "EMAIL" , "PHONE" , "GOOGLE" , "TWITTER" , "EXTERNAL_WALLET" ], // Events onModalStepChange : ( stepInfo ) => { console . log ( 'Step changed:' , stepInfo ); }, onClose : () => { console . log ( 'Modal closed' ); } } } > { children } </ ParaProvider >
Test your modal configuration with our interactive tools:
Next Steps Now that you’ve configured your Para modal, explore additional customization options:
