Prerequisites
Before integrating wallet connections, ensure you have an existing Para project with the Para Modal set up. If you
haven’t set up Para yet, follow one of our Framework Setup guides like this guide.
How It Works
Para’s EVM wallet integration is powered by , the popular React hooks library for Ethereum. When you configure theParaProvider with external wallet support, Para automatically creates and manages the Wagmi provider internally. This means:
- No manual Wagmi setup required - Para handles all Wagmi provider configuration
- All Wagmi hooks available - Use any Wagmi hook in your application alongside Para hooks
- Unified configuration - Configure chains and settings through Para’s
externalWalletConfig - Automatic connector management - Para controls wallet connectors based on your configuration
Setting up EVM Wallets
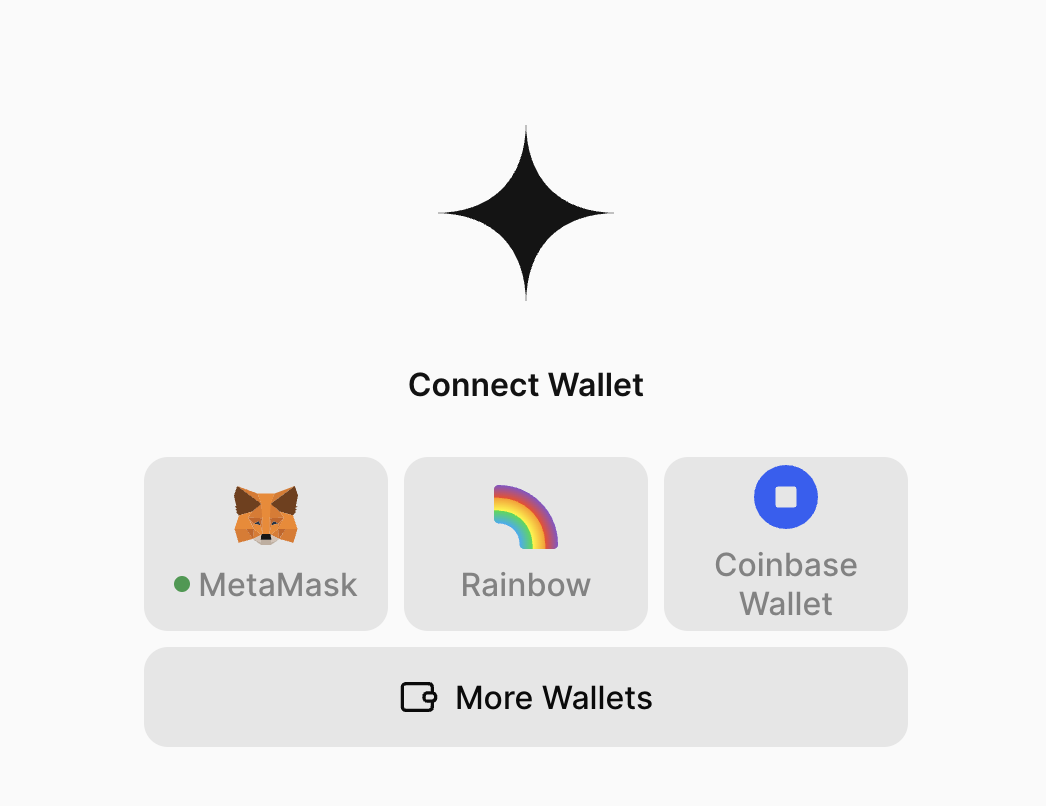
Setup is simple - just wrap your app in a provider and pass the appropriate props and configuration options to the provider. Once configured, the Para modal and wallet options will automatically appear in the modal when opened. Para provides seamless integration with popular EVM wallets including , , , , , , , , , , and .Safe App Registration: To use Safe as an external wallet, you’ll need to register your application as a Safe App in the . This is required because Safe apps need to run within Safe’s context to ensure proper security and functionality. The registration process involves providing your app’s details and undergoing a review by the Safe team.
Import components
Import the wallet connectors and supporting components you need. Adjust the imports based on which wallets you want to support:main.tsx
Configure the providers
Configure theParaProvider component by wrapping your application content in the QueryClientProvider and ParaProvider components. Pass in the required configuration props:
main.tsx
The
ParaProvider automatically creates and manages the Wagmi provider internally. You only need to provide the QueryClientProvider - Para handles all Wagmi setup for you.External Wallet Configuration
WalletConnect (Reown) Setup: You’ll need a WalletConnect project ID if you’re using their connector. Get one from
the .
You can use an empty string for testing, but this isn’t recommended for production.
Accessing the Wagmi Configuration
Para provides two methods to access the Wagmi configuration depending on your use case:During Runtime (Inside ParaProvider)
Use thegetWagmiConfig function when you need the configuration inside the ParaProvider context but outside of React hooks:
Before ParaProvider Initialization
If you need the Wagmi config before the ParaProvider mounts (e.g., for server-side operations or early initialization), usecreateParaWagmiConfig:
The
createParaWagmiConfig function creates the same configuration that ParaProvider would create internally. This enables you to use the config with @wagmi/core actions before your React app renders.Server-Side Rendering (SSR) Considerations
When using Next.js or other SSR frameworks, proper client-side initialization is crucial since web3 functionality relies on browser APIs. SSR management is the developer’s responsibility, and Para provides the tools to handle it effectively.Handling Hydration Issues
If you encounter hydration errors related to@getpara/evm-wallet-connectors, this indicates that Wagmi’s store hydration is happening too eagerly. Since Para uses Wagmi internally, all apply:
- Enable SSR mode in your configuration:
- Use dynamic imports for client-side only rendering:
- Add the
'use client'directive in Next.js 13+:
Cookie-Based Persistence
For advanced SSR scenarios where you want to persist wallet connection state across server renders, implement :External Wallets with Linked Embedded Wallets
You can also provision linked embedded wallets for external wallets. In this case, the external wallet would be the Para auth method for the user’s embedded wallet (instead of an email or social login). Embedded wallets would be created according to your API key settings. To enable this, you can include thecreateLinkedEmbeddedForExternalWallets prop to indicate which external wallets this setting should be applied to.
The mapping between an external wallet and its linked embedded wallet is maintained by Para and is not deterministically generated. If your application needs access to this mapping, you can use Para’s lookup methods (such as
getWallets) to retrieve it, or store the association in an on or off-chain system (e.g. a database, smart contract, or program).Advanced Provider Pattern
Setting up a dedicated provider component that encapsulates all the necessary providers and modal state management is considered a best practice. This pattern makes it easier to manage the modal state globally and handle session management throughout your application.Configuring the Para Modal
After setting up your providers you need to configure the ParaModal component to display the external wallets and authentication options to your users. You need to pass in theexternalWallets and authLayout configuration options
to the ParaModal component to control which of the wallets show in the modal that were specified in the provider
configuration.
Set the modal props
Modal Props Config
Modal prop options for customizing the Para Modal are included below. For advanced customization options, refer to .External Wallet Verification via SIWE
External wallet verification via Sign in With Ethereum adds a verification step during external connection to ensure the user owns the wallet. Enabling this feature establishes a valid Para session, which you can later use in your app to securely validate wallet ownership. To enable this, set the following option on yourexternalWalletConfig of your ParaProvider:
Connection Only Wallets
Connection only external wallets bypass all Para functionality (account creation, user tracking, etc.) when connecting an external wallet. To enable this, set the following option on yourexternalWalletConfig of your ParaProvider:
Since connection only wallets bypass Para, most Para functionality will be unavailable. This includes linked embedded wallets, external wallet verification, on & off ramping, etc.
Examples
For an example of what the Para External Wallets Modal might look like in your application, check out our live demo: For an example code implementation using EVM Wallets, check out our GitHub repository:Next Steps
Now that you have integrated EVM wallets into your Para Modal, you can explore more advanced features like signing using the Para SDK with popular libraries likeEthers.js.